
Halfbike 2 - Front Tire Replacement
Before you begin, have in mind that it’s not particularly difficult to repair a flat tire on a Halfbike.
However, there are a few steps that require extra caution and you’d like to get those right. So, please pay attention to the original position of all components when you disassemble the Halfbike. You’d like to return them to exactly the same configuration to ensure that your Halfbike is properly assembled and tuned.
The following two tutorials are related to some of the steps and you can refer to them for additional info:
Assembly - link
Gear Hub Adjustment - link

Step 1
For a start, fold down your Halfbike. Then remove the brake cable and gear cable from the clips on the handlebar. Undo the screws that hold the handle in place so that you can detach it from the frame.
Step 2
Remove the plastic gear cover. (Just pull it backwards and it will pop off)
Step 3
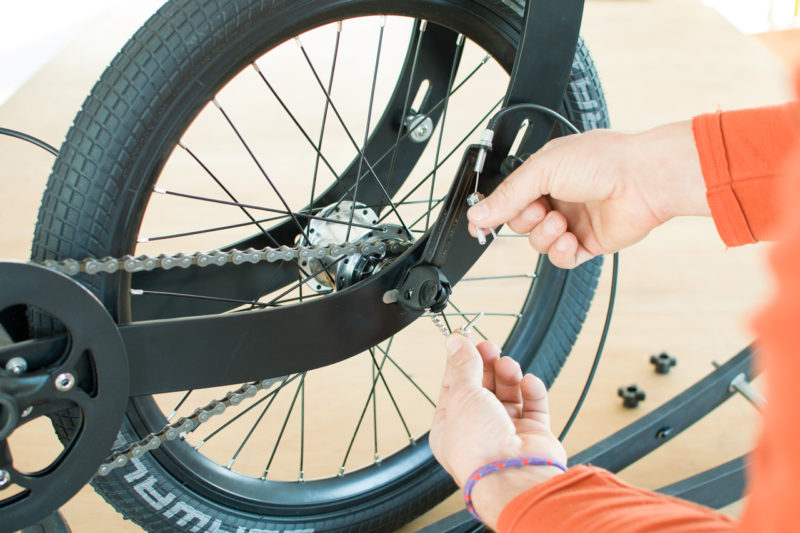
Loosen the safety nut on the gear cable and then unscrew the tensioner.
Step 4
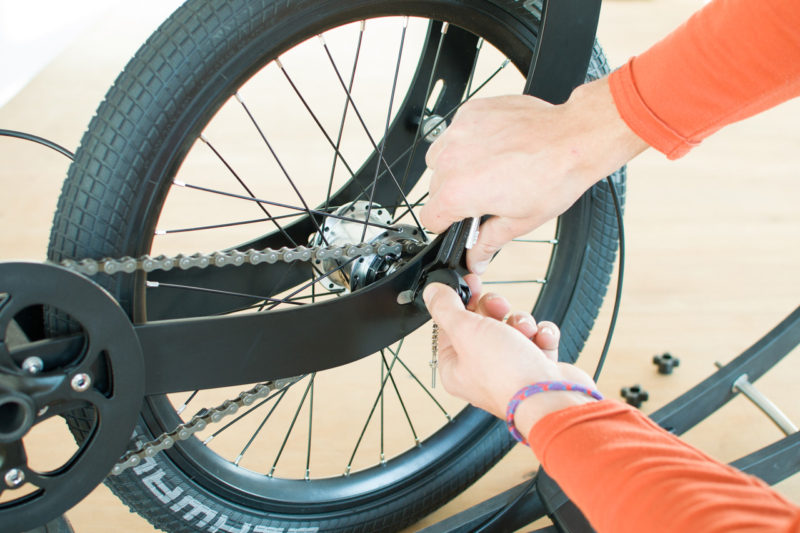
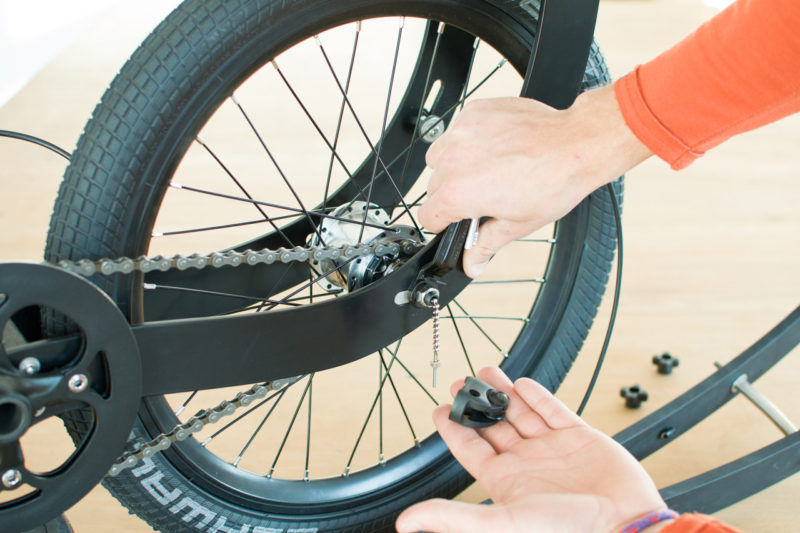
Pull out the plastic part with the pulley backwards. It may require applying some force and wobbling the part at the same time. (Pay attention to the original position of the pulley)
Step 5
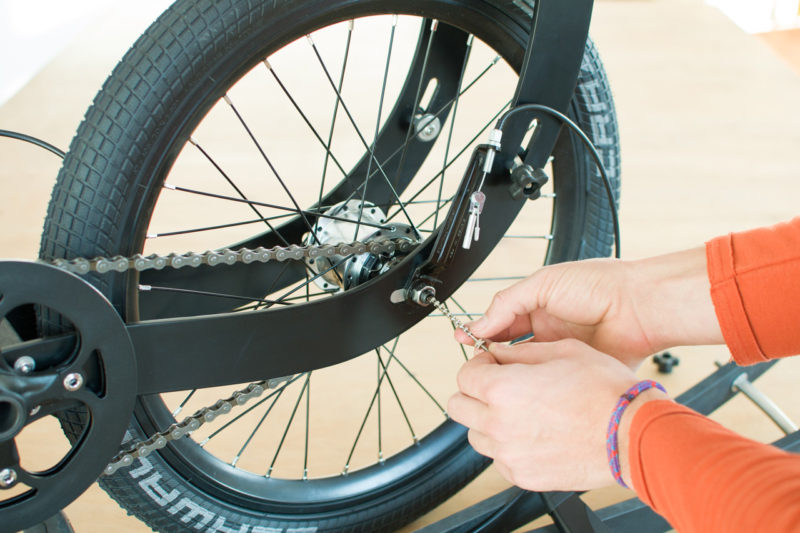
Unscrew the chain that connects to the axle and pull it out. (It has a thread - rotate left to loosen and right to tighten)
Step 6
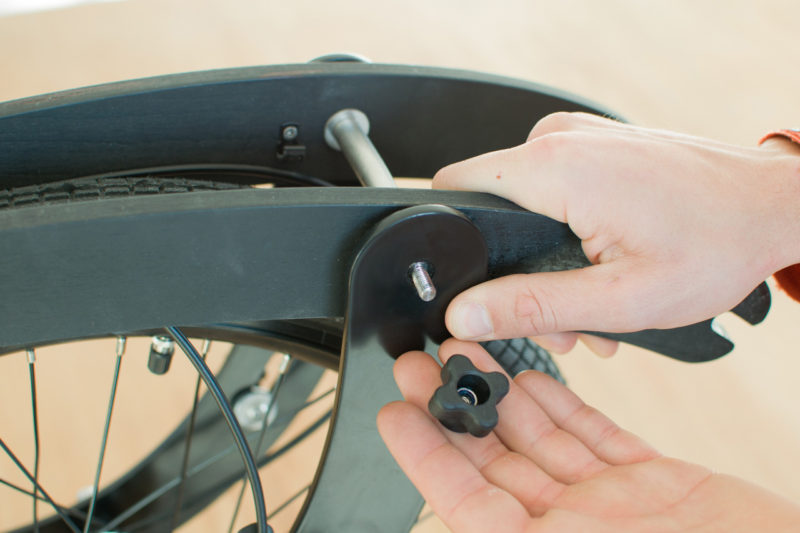
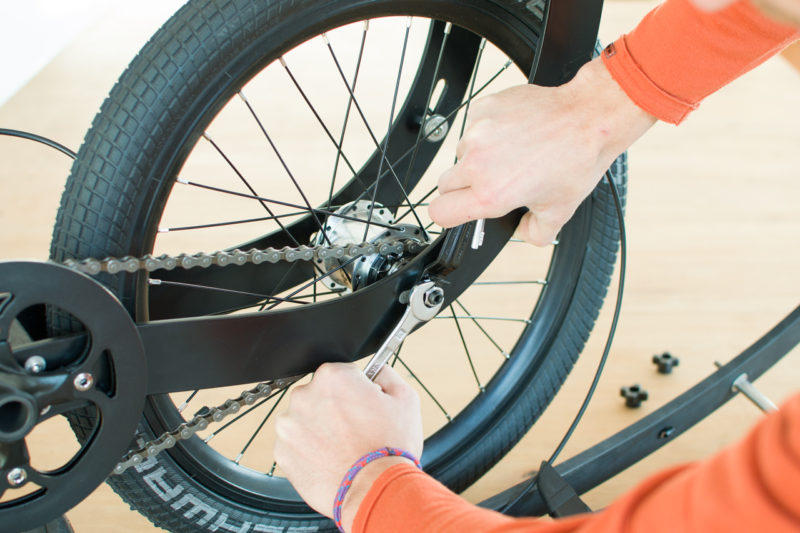
Use a wrench (15mm) to unscrew the nut that holds the tire.
Step 7
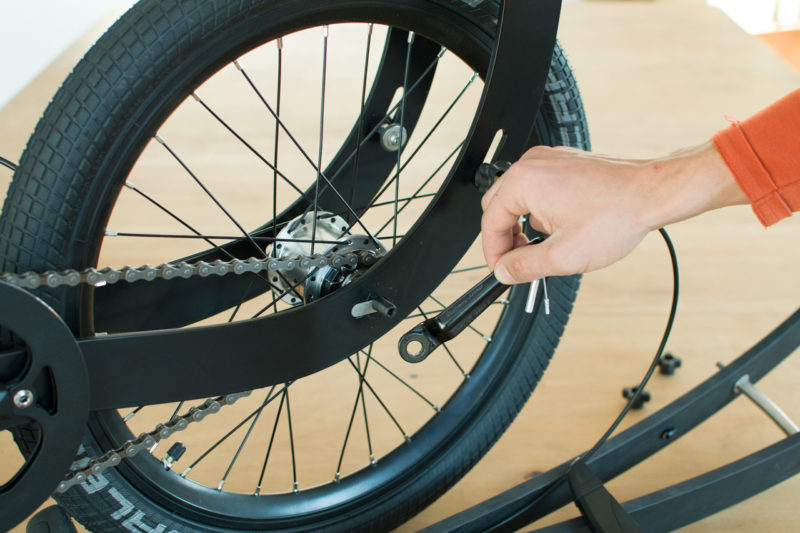
Remove the metal console that holds the gear cable.
Step 8
Undo the domed nut from the axle at the other side. (Again using 15mm wrench.) Remove the nut and washer. Pay attention to the position of the washer before you take it out.
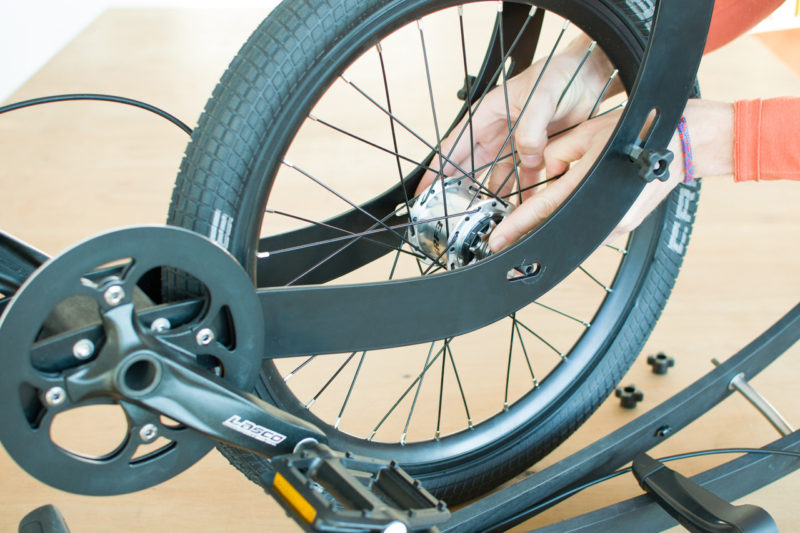
Step 9
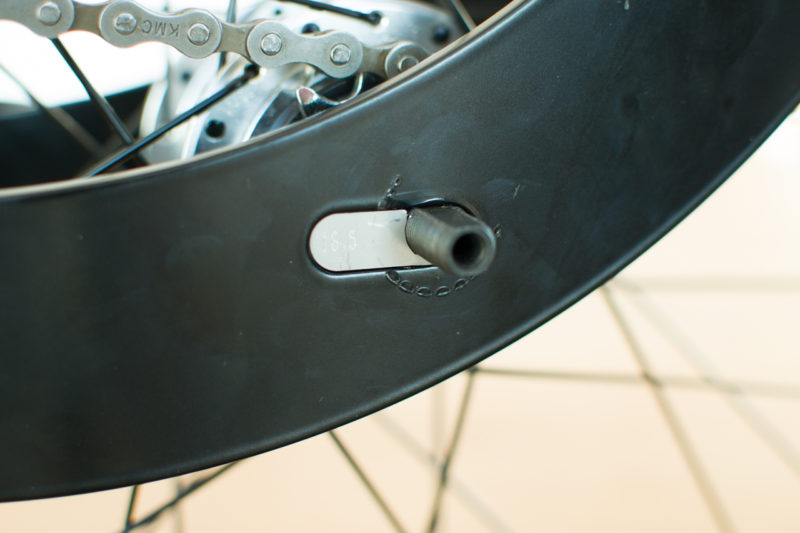
There’s a small metal insert (tug) that holds the axle in place and prevents it to slide backwards. Pay attention to its position and take it out. Note that this is a very important part so make sure that you install it the same way afterwards.
Step 10
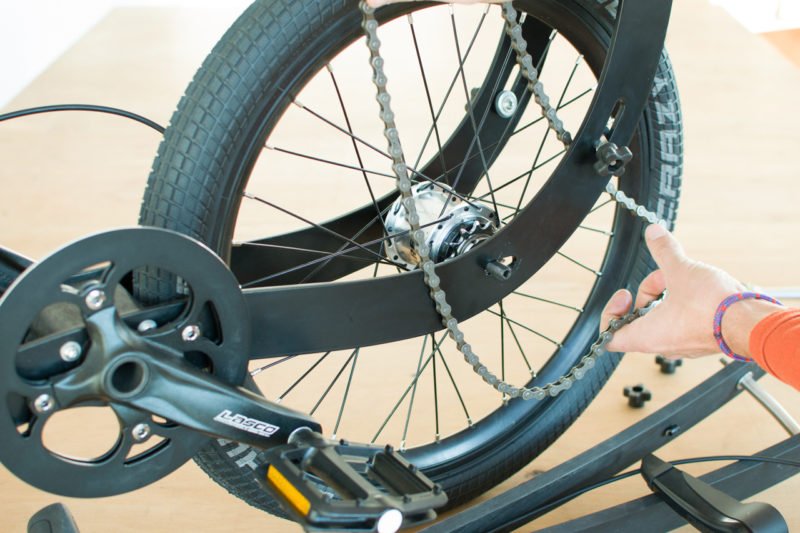
Now you’d be able to slide the wheel backwards and remove the chain.
Step 11
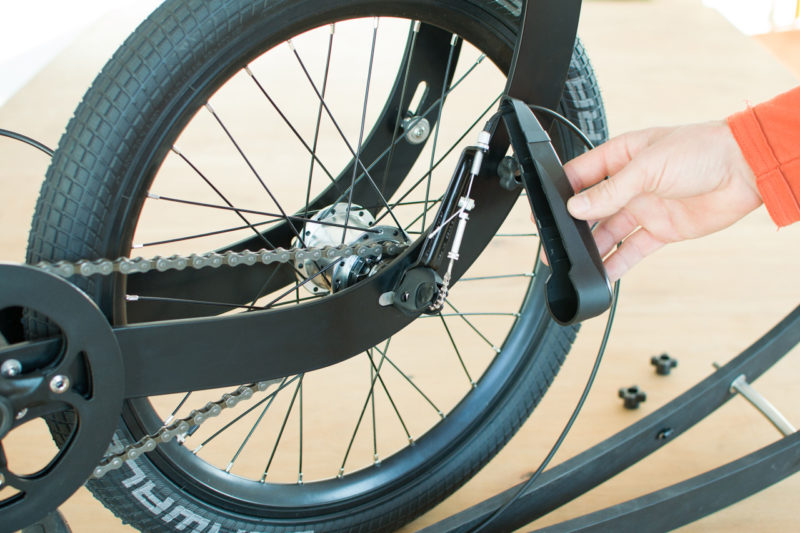
Using both of your hands, gently open the frame as shown in the picture. Be cautious as there’s a chance to bend the frame if you use too much force. The key is to widen it just enough to remove the axle from the frame. And don’t forget to mind the paint.
Step 12
Once you take the wheel out of the frame you can proceed and repair the flat tire like on a regular bicycle. Once you’re ready, it’s time for the interesting part. Assembly of your Halfbike. Basically, you’ll need to redo the steps so far. However, there are a few steps that require extra caution and you’d like to get those right. Once again, we suggest that you pay attention to the original position of all components when you disassemble the Halfbike. You’d like to return them to exactly the same configuration to ensure that your Halfbike is properly assembled and tuned.
Step 13
Using both of your hands, gently open the frame as shown in the picture. Be cautious as there’s a chance to bend the frame if you use too much force. The key is to widen it just enough to insert the axle into the frame. Again mind the paint.
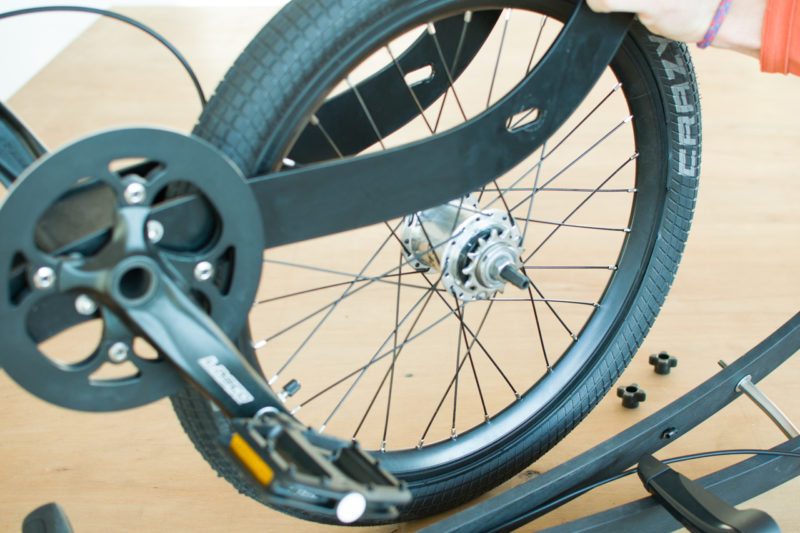
Step 14
Slide the wheel back and put the chain. It’s easier if you put it on the small sprocket first and then the crankset.
Step 15
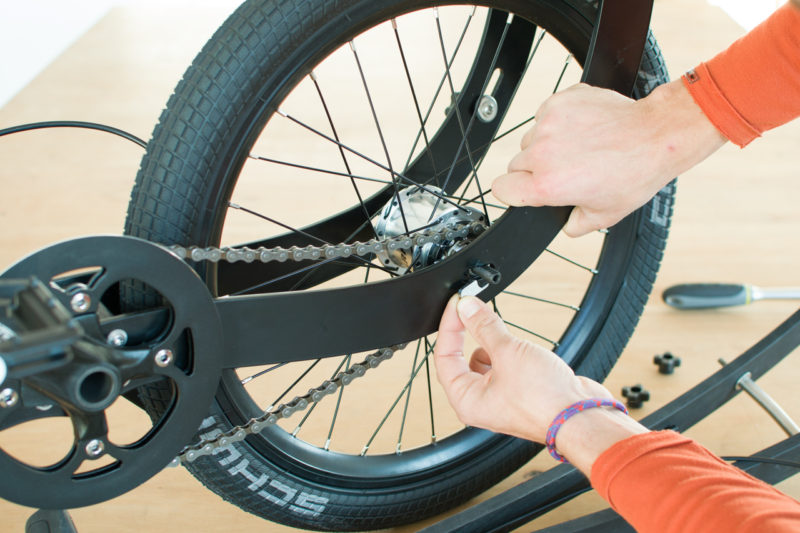
Insert the tug (small metal piece) that holds the axle in place and prevents it to slide backwards. Then fit the metal console that attaches to the brake cable, screw on the nut on the axle by hand. Do not tighten it yet, just screw it by hand to hold the components in place and still allow them to move freely.
Step 16
On the other side, put the washer and domed nut and screw the nut by hand. Again, no need to tighten it yet. It’s key to have both sides loose at this point to allow for the aligning of the wheel.
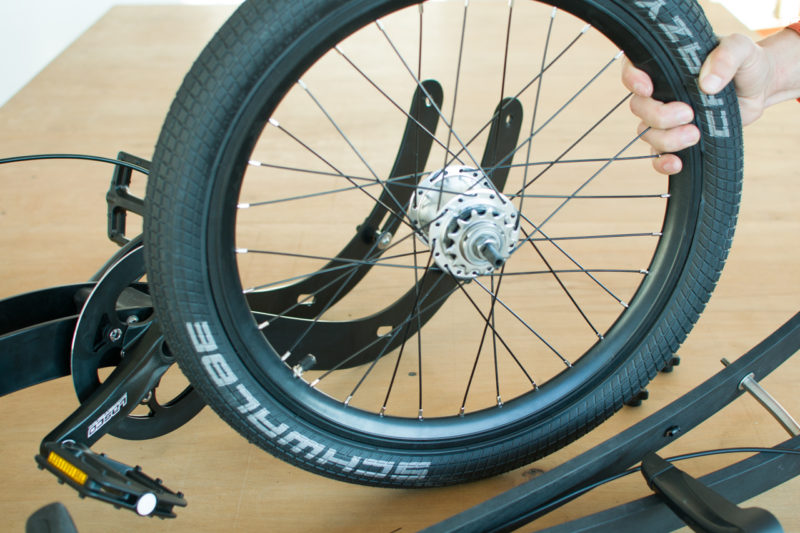
Step 17
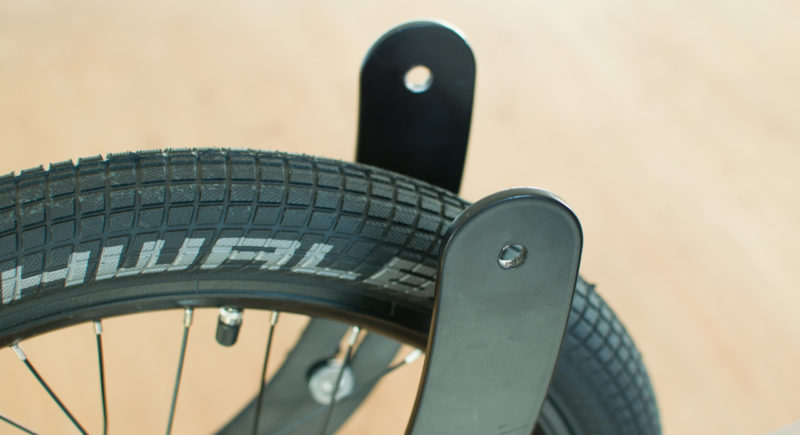
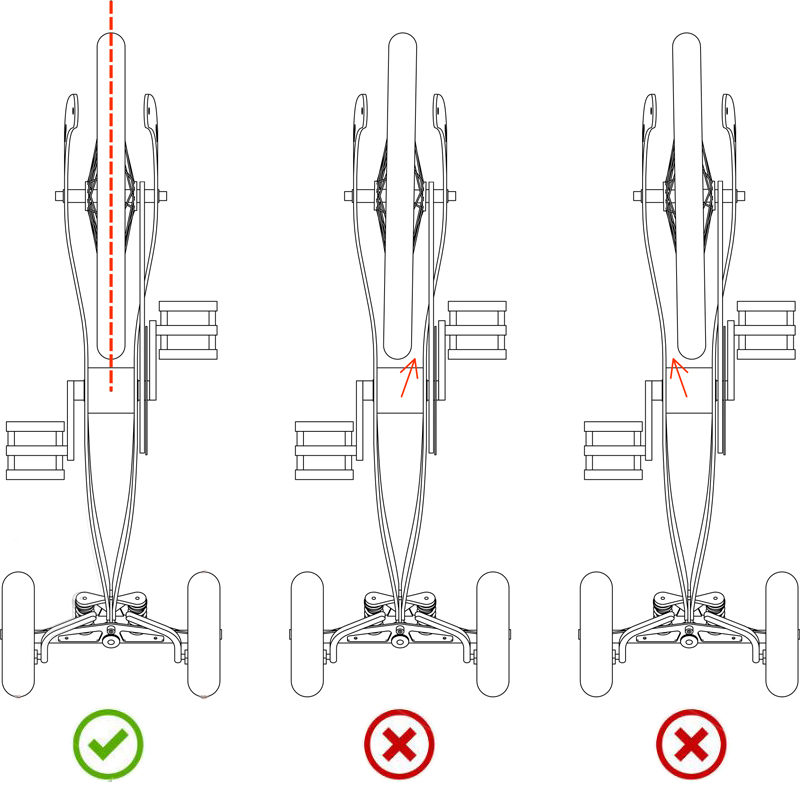
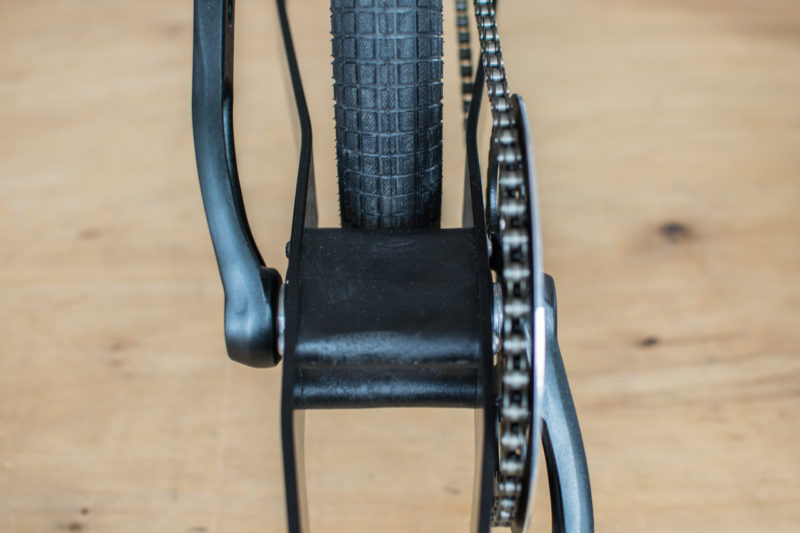
Make sure that the wheel stays centered into the frame as shown in the picture. The distance between the tire and each side of the frame should be equal. Once the wheel is in position, hold it there with one hand and with your other hand tighten the domed nut with a 15mm wrench. After the domed nut is properly tightened, check if the wheel is still aligned. This is an important check as it will ensure that your Halfbike is well adjusted. If the wheel has shifted off-center, loosen the nut and repeat this step.
Step 18
Point the metal console that holds the gear cable up towards the handlebar (the same direction as it was) and then tighten the nut with a wrench. Once the nut is tightened, check again if the wheel is still aligned. This is an important check as it will ensure that your Halfbike is well adjusted. If the wheel is OK, try to tighten the nuts on both sides again. It’s key that both nuts are securely tightened. Then proceed to the next step. If the wheel has shifted off-center, loosen the nut and repeat this step.
Step 19
Screw the chain piece inside the axle. (It has a thread - rotate left to loosen and right to tighten)
Step 20
Press in the plastic part with the pulley. It may require you to apply some force while wobbling the part at the same time. Make sure that it goes all the way back.
Step 21
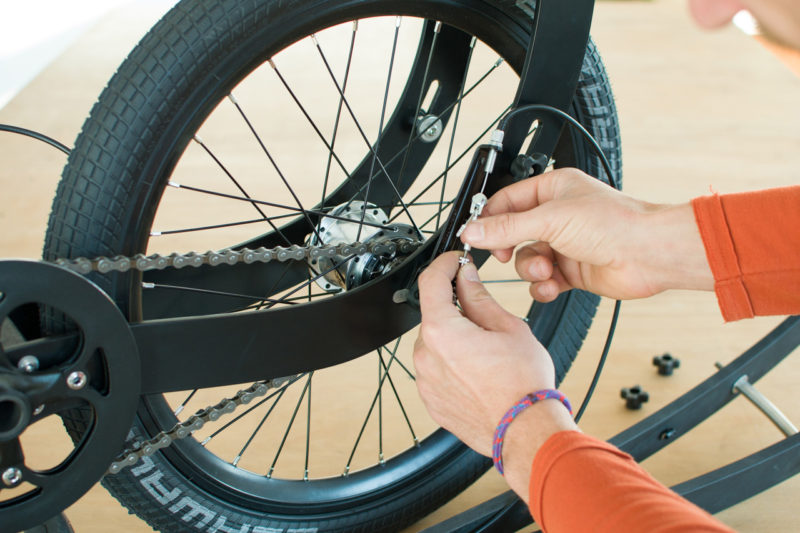
Screw the tensioner to the chain-piece that sticks out of the axle. Adjust the gears and then secure the safety nut. You can find a dedicated tutorial on adjusting gear adjustment here. It shows in more detail how this step should be performed.
Step 22
Put on the plastic gear cover. (Just push it in and it will pop on)